This week has been filled with lots of learning (a theme I suspect will continue throughout this summer). Especially since I have begun to treat a few of the objects I have previously discussed.
Starting with the Yoruba Crown, this project has been put on the back burner for the moment as we try to decide how best to move forward with the Shea butter-esque layer coating the exterior of the piece. I have completed solubility testing to determine what solvent would be best suited for removing this layer, but we are still in the process of making the decision of whether or not that should be done to the work as a part of this treatment.
The Dogon pair is also moving along quite nicely, I have started to make a fill using WoodEpox, and have gotten to the stage of carving out the cured fill to match the area of loss. I am doing this in a few ways, including using a scalpel blade and small sanding tools to remove the excess WoodEpox from the fill. In addition to starting the fill, I have also carried out solubility testing on this work to determine what solvent would be best in order to remove some of the more ingrained surface debris and some of the fatty bloom residue. After testing with water and spit (yes I said spit, and yes that is a thing – more on that later) with little success we moved to Isopropyl Alcohol and had great success. This process will required going over areas several times over the course of the week to ensure I was fully removing the grime still caked onto the work.
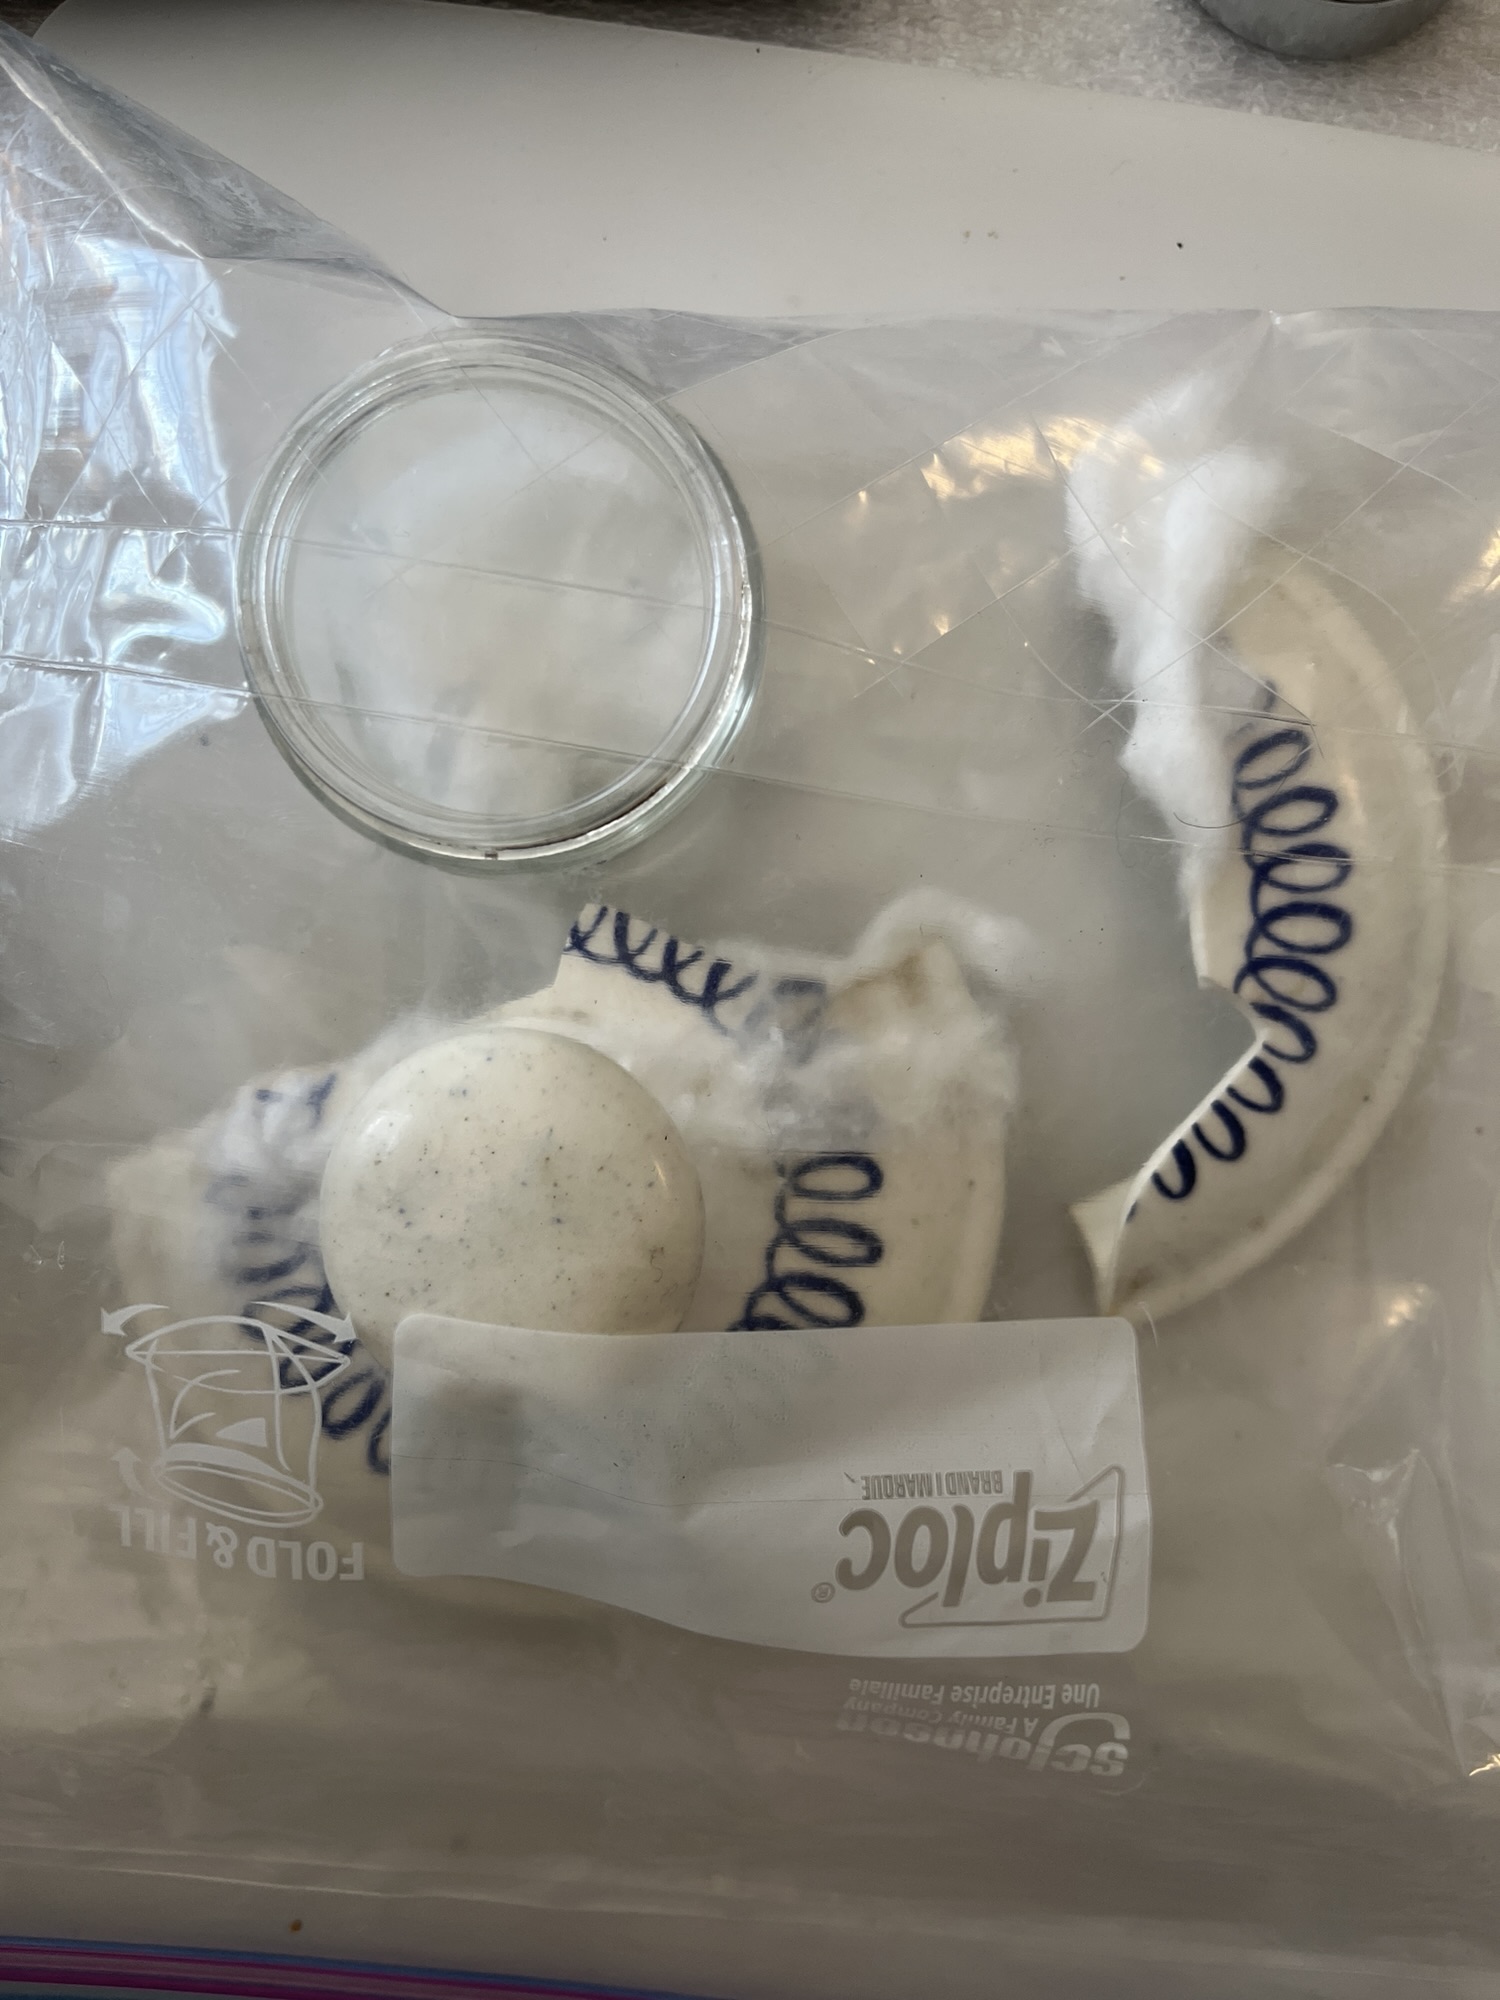
This week I also started working on the ceramic piece, similar to the last two works I completed a solubility test on the adhesive residue with a variety of solvents, finding that acetone and Ethanol worked the best. It should be noted that this work was thought to have only been broken once, however two different kinds of adhesive can be observed on the lid. To begin this treatment and separate the pieces still adhered together, we placed the ceramic in a plastic zip-lock bag with a jar of cotton soaked in ethanol. Before putting it into the plastic bag, we wrapped the areas effected by the adhesive residue with cotton that had been soaked in ethanol. We left this to sit for a few hours and by the end of the day some of the adhesive had swelled and detached from the pieces, making it easy for me to remove the reside with a scalpel. For the areas that were still attached one another, we repeated the process outlined above, instead using acetone as the solvent and left it to sit overnight. After sitting overnight and soaking in the acetone, I was able to separate the pieces joined with the yellowed adhesive. Unfortunately, the clear adhesive was not impacted by this treatment. Next week I will look into alternative treatment options for this piece.
On Thursday of this week I worked on learning how to add pages to the Stashc website (https://stashc.wpengine.com/). This website is a space for professionals in the field to share their unique ways of creating storage solutions for different objects. There is a section on the website for people to submit their work, and it will then be uploaded and formatted to the site by people like me!
This week we also received a small collection of silver from the Derfner Judaica museum. Next week I will start polishing treatment on these objects, so stay tuned for that!
That’s all for now, again the instagram page has more photos uploaded to it, and this weeks Friday adventure has taken me to the Brooklyn Museum of Art that will be explored more in chapter 7!

Leave a comment