African Art – The Dogon Pair
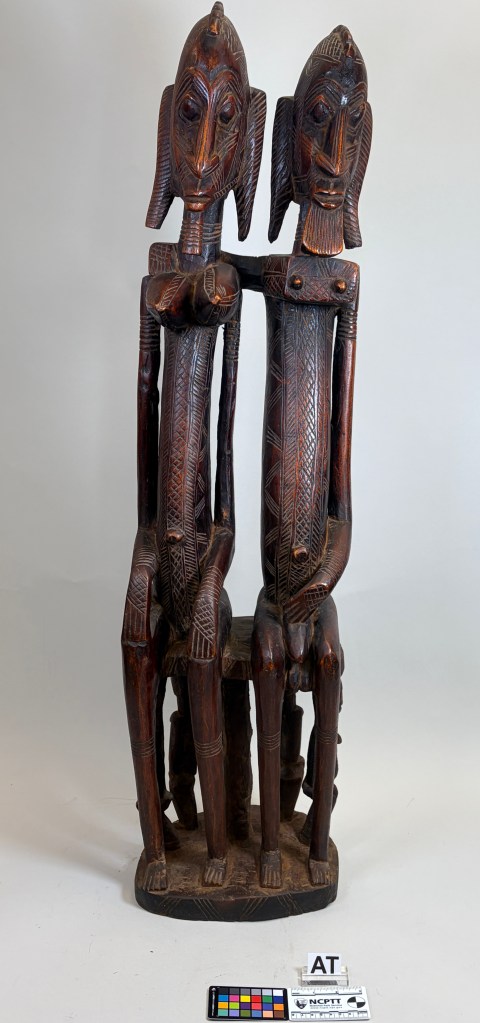
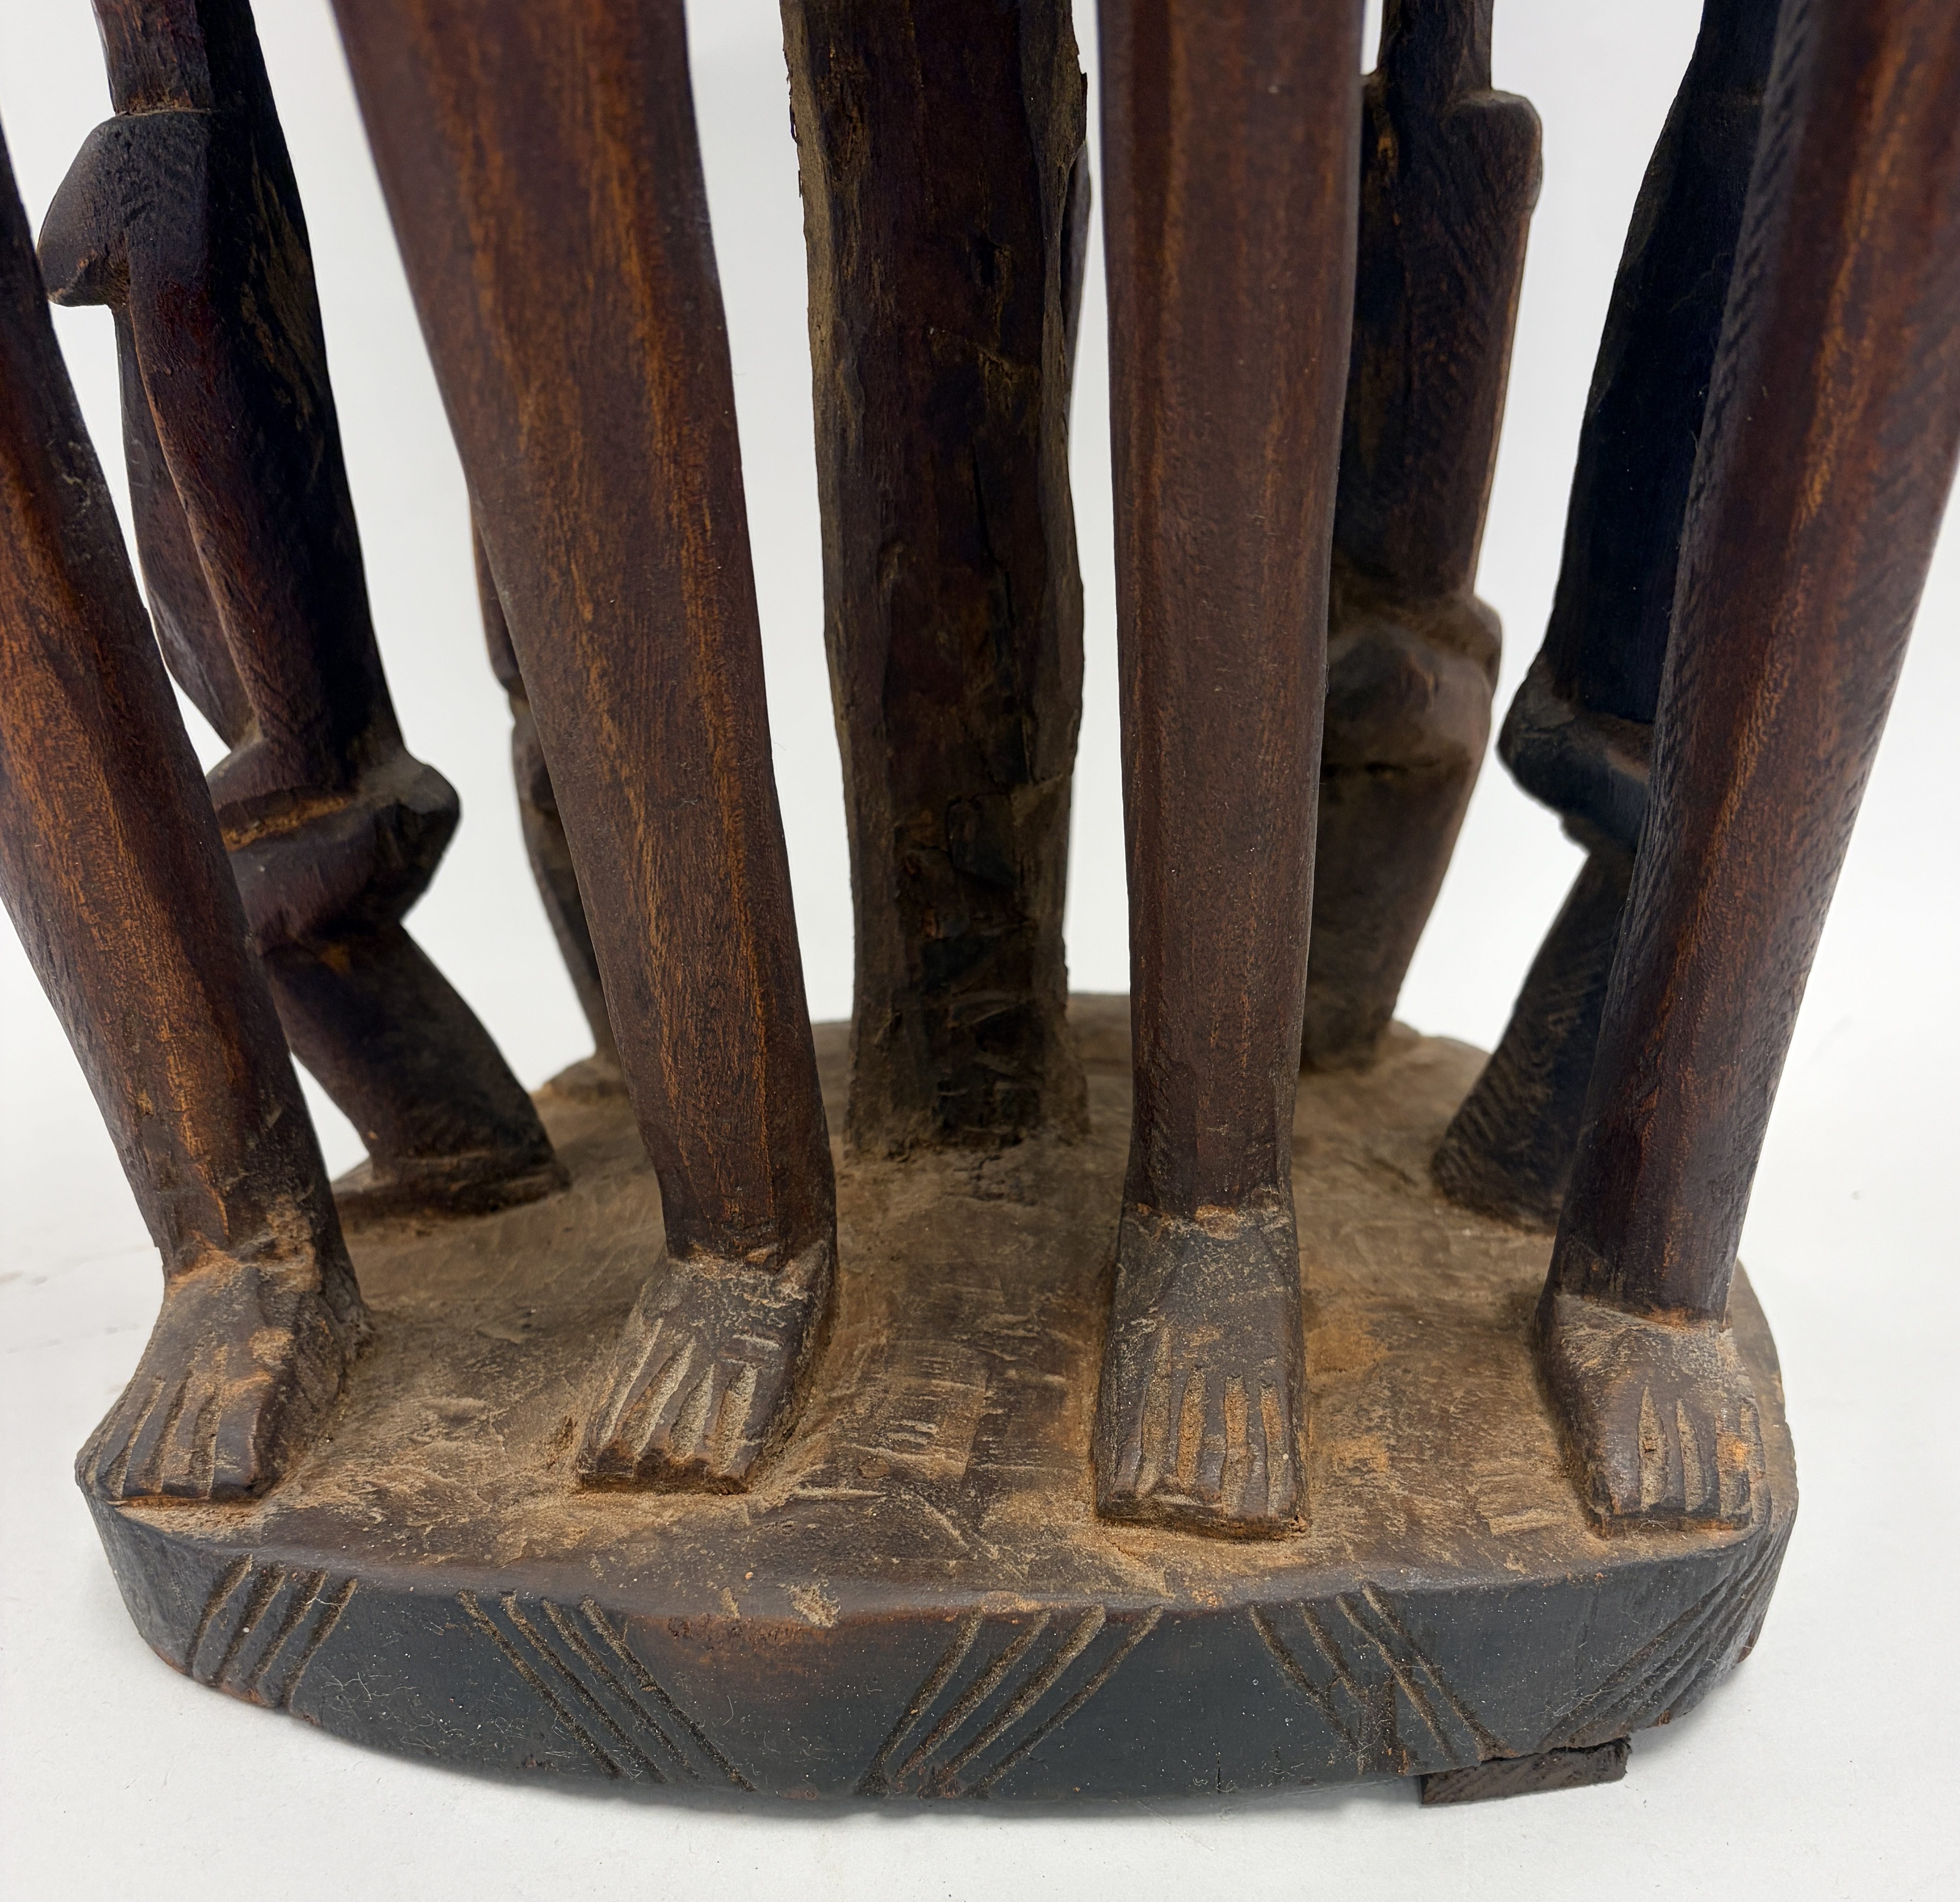
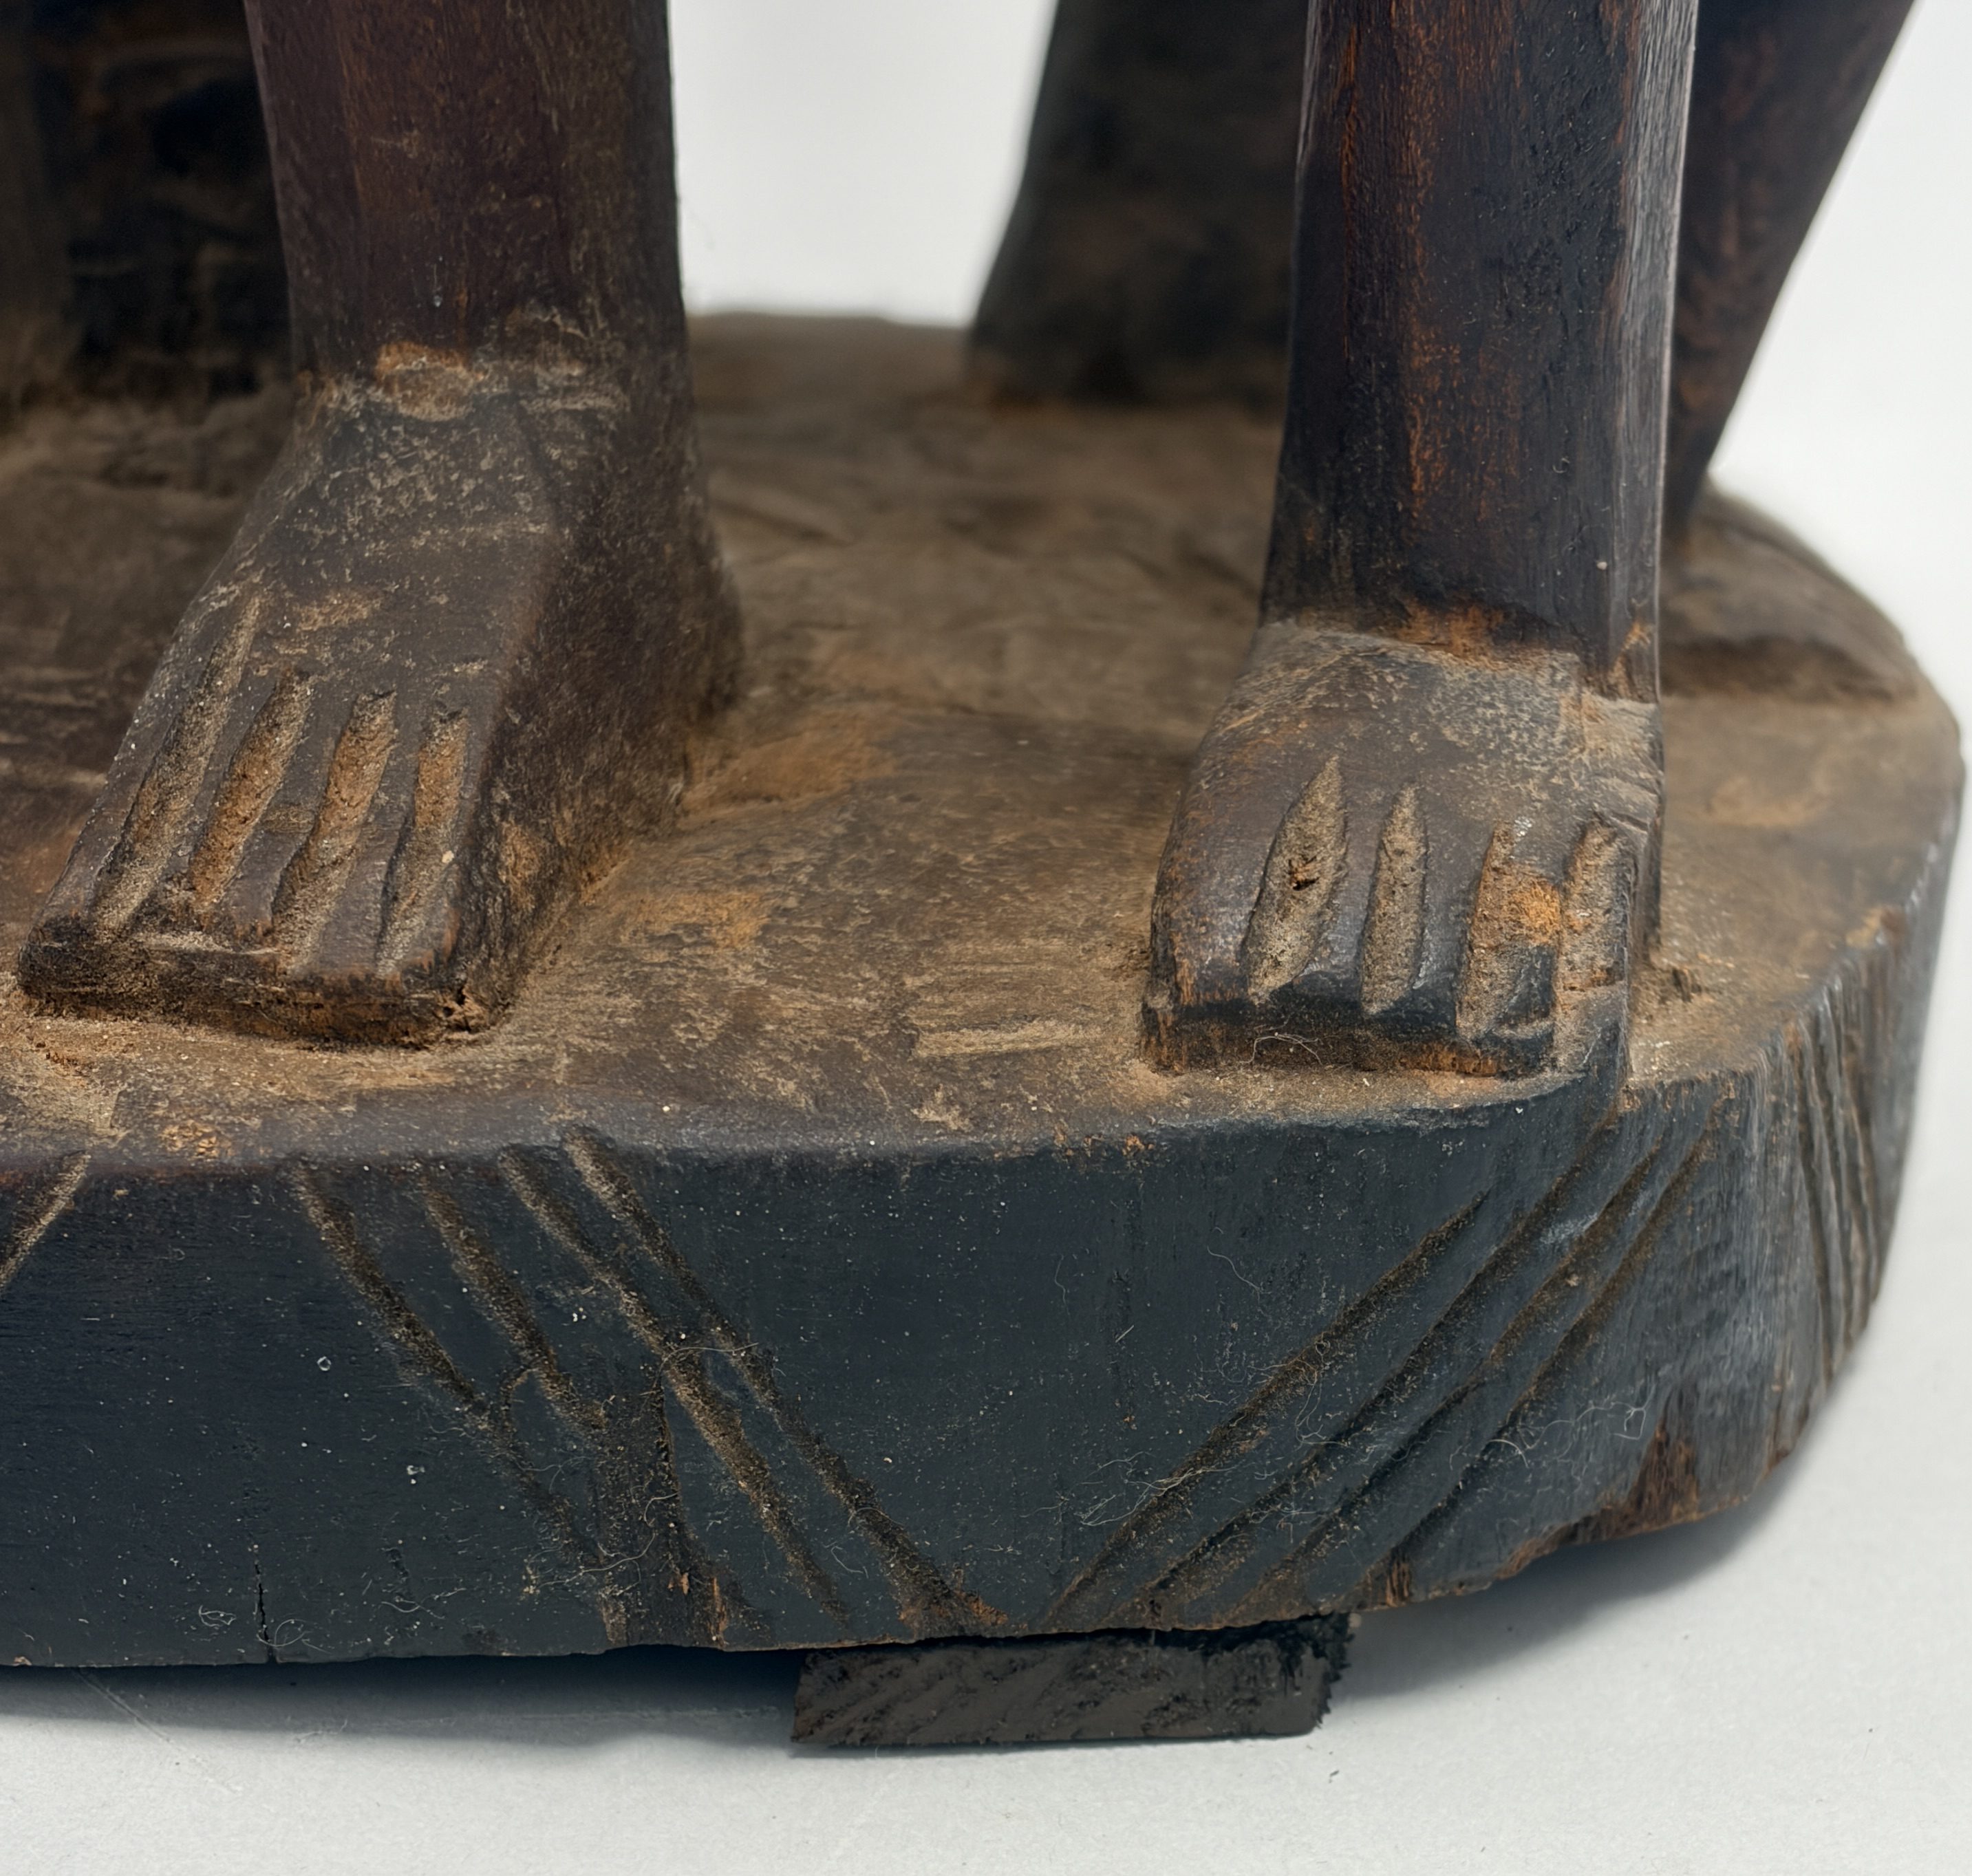
This page details the timeline and treatment of one of the two African artworks that I worked on this summer, the Dogon Pair. This Dogon pair is carved out of one large piece of wood to resemble two human figures, a male and a female. The figures are seated on a stool with four legs and a center support. The four legs of the stool have been carved to resemble small human figures, similar in design to the two central figures. The central figures’ bodies display a variety of carved patterns mimicking the scarification traditions of the area. A quiver for arrows is carved on the back of the male torso, and a small child is carved onto the back of the female figure. The surface of the sculpture is dark in color, and shiny/glossy in appearance. This is likely a result of the application of ceremonial oil that has been applied to the surface of the sculpture over time. (This section is from the description portion of the final treatment report)
Treating The Dogon Pair
CONDITION: Overall, the Dogon pair sculpture is in good condition. The sculpture is structurally sound, and the client’s major concern was the area of loss on the back of the female figure’s head – recent accidental damage by a contractor. The work also has minor surface losses, minor grime buildup within the tacky, oiled surface, and areas of fatty bloom appearing as whitish specs of crystallized oils. (Condition section from final report)
BT Images (Before Treatment)
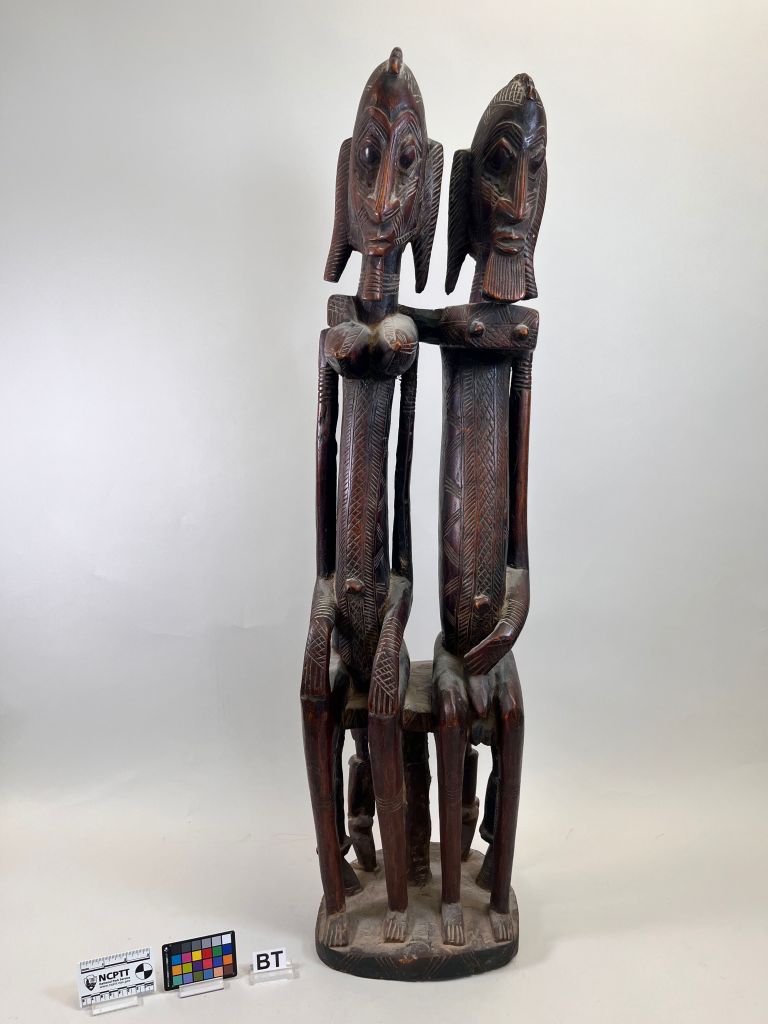
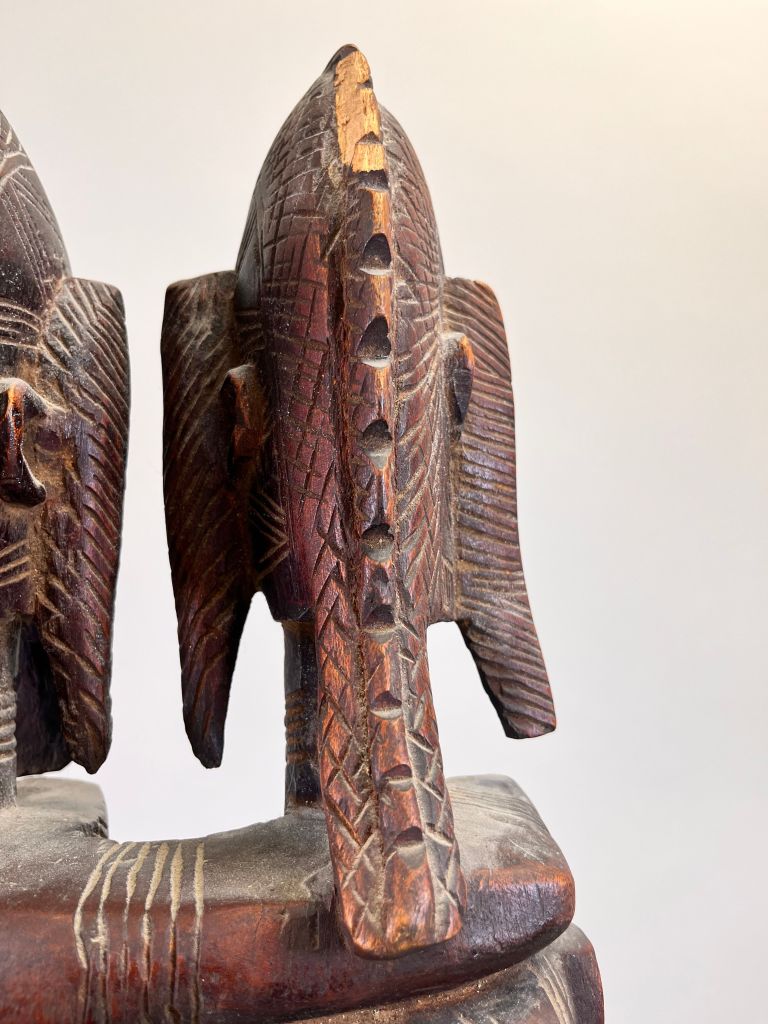
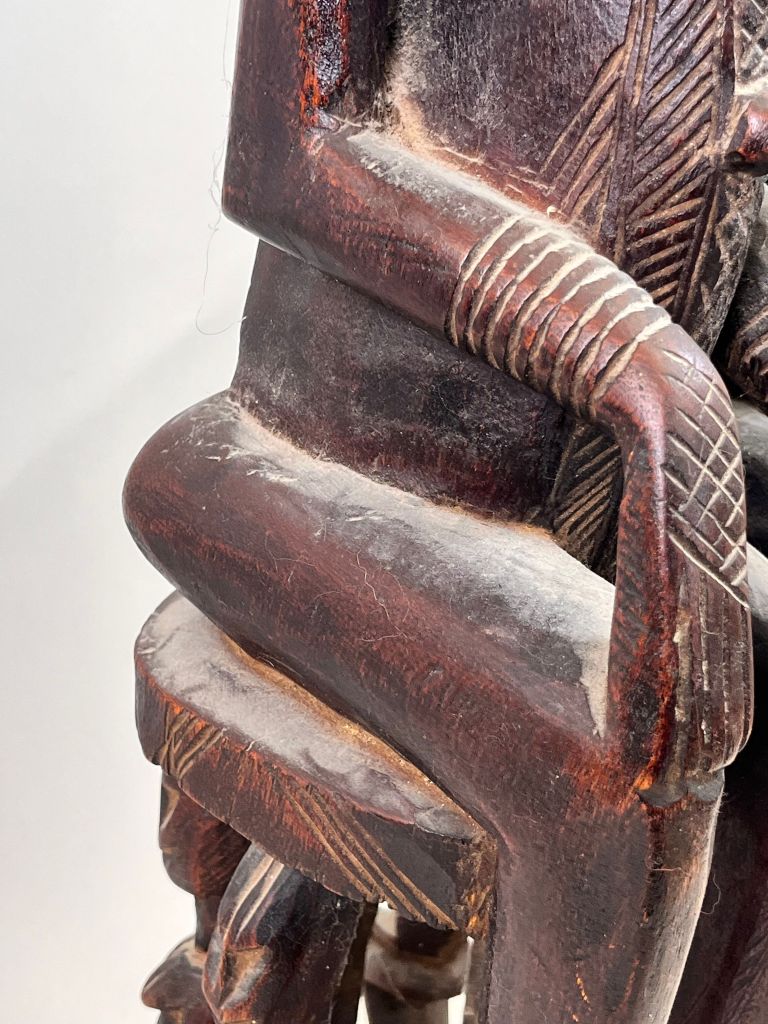
The proposed treatment is outlined below as it appears in the final report.
- Surface Cleaning:
- Dry Brush cleaning with Nilfisk vacuum on all surfaces using vacuum attachments and a soft bristle brush.
- Soot Sponge cleaning on all surfaces to further remove surface grime.
- Surface cleaning with water or solvent to fully remove some of the residual dust and dull appearance.
- Solubility testing of various solvents will be carried out before surface cleaning to determine effectiveness in reaching the desired cleanliness level.
- Filling Area of Loss:
- Fill area of loss on the back of the female figure’s head with WoodEpox.
- Tone the fill area with appropriate pigments/paints
- Attach the fill with Paraloid B-72 adhesive (ethyl methacrylate copolymer).
- Tone the small nicks on the surface of the sculpture with the appropriate pigments/paints.
- Consider re-solubilizing the crystalline fatty bloom over the sculpture with the application of heat. Or consider removal of the crystals by light swabbing with solvents (after solubility testing).
The first attempt at making the fill was done with the intent of making the fill piece easily detachable. To do this, I wrapped the head of the work in saran wrap, and pressed the WoodEpox into the loss section as it cured, hoping to capture the impression of the loss surface so the final piece would slot into place.
The issue with this technique was really only discovered when I got to the shaping portion of the fill construction, as the area of loss is relatively shallow. This meant that as I was trying to used the small hand held sander to file the fill to shape, the fill piece kept breaking as it was too fragile to withstand the sanders force. I continued on, working with the three small pieces the initial sanding had left me with until the next issue became clear, sanding the pieces individually meant that they no longer fit together easily when positioned on the loss area. The pieces ended up being either too long or too short in multiple areas to accurately cover the loss. It also didn’t help that the saran wrap application didn’t allow for the fill to mold close enough to the surface, leaving the fill pieces unable to correctly slot into place even after the sanding. After attempting this twice, it was decided that we would take a different approach.
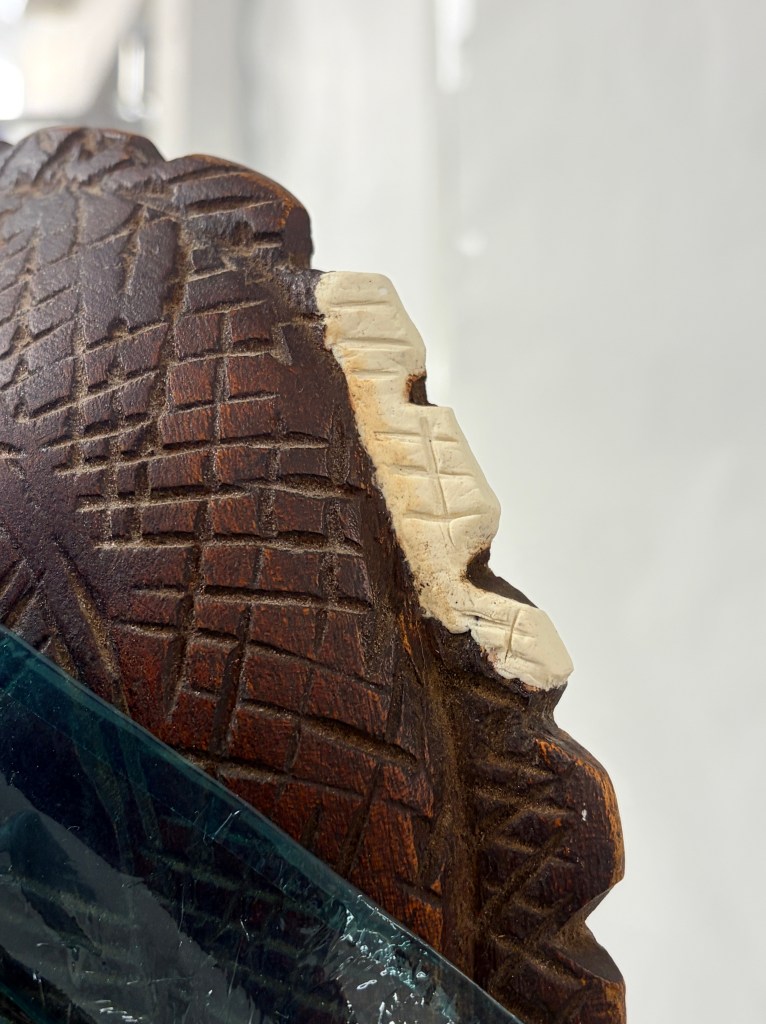
I used a dilute mixture of B-72 to bulk up the surface of the loss area, creating a reversible barrier between the wood surface and the WoodEpox. I then let the WoodEpox cure for several moments, allowing it to become firmer before pressing small portions of it directly onto the surface of B-72. While it was curing I was able to shape the fill to a more accurate fit that what was previously achieved, and was also able to add the surface texture needed to mimic the rest of the hair. Once it had fully cured I was able to go back in the sander and clean up some of the angles, making sure the fill was in alignment with the other hair details and was sitting flush to the rest of the head (as shown in the photos below).
DT Images (During Treatment)
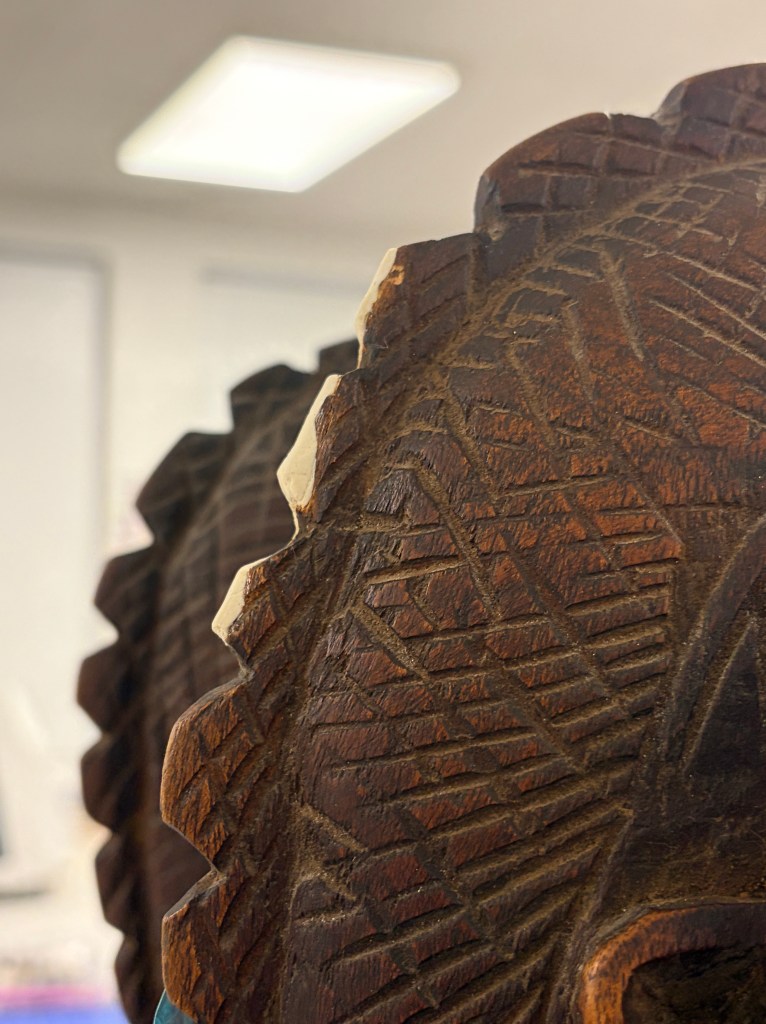
I was then able to go in and tone the fill to match the rest of the sculpture with water color paints. Using several pigments, I was able to build up enough color variation that when dry, the fill blends in with the rest of the sculpture. I then covered the fill with several coats of renaissance wax, allowing it to dry before buffing it out to give the surface of the fill a similar shine to the rest of the work.
AT Images (After Treatment)
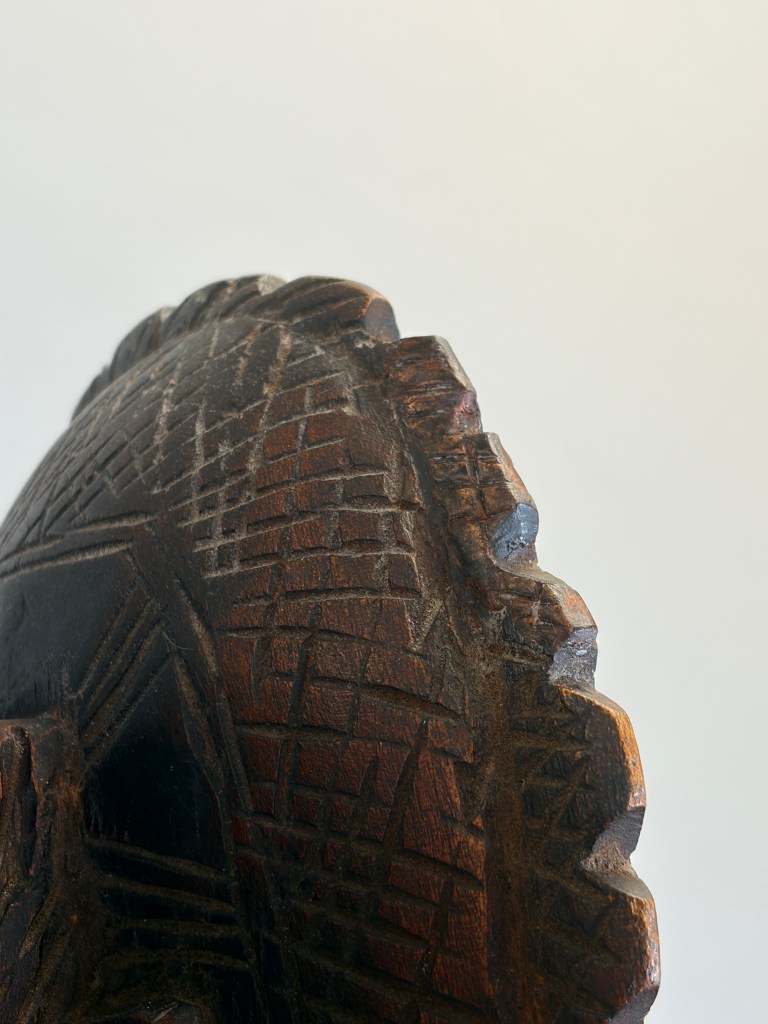
The sculpture itself wobbles while standing independently, as the bottom in uneven. To help reduce the movement of the work when displayed, a small piece of Balsa wood was cut to size and toned to be used as a shim and support the piece.
 the summer shift